Show Posts

This section allows you to view all posts made by this member. Note that you can only see posts made in areas you currently have access to.


Topics - Angeles2099

Pages: 1 2 [3] 4
31
Suggestions / TroubleShooting Imrpovement
 on: December 16, 2018, 12:43:06 AM 
Soon after the launch of the SpaceGuilds a glitch occured in the middle of a mission that cause Valeria's Light animation from her blades to remain open in a static position. Remembering the new Trouble shooting feature I opened it up to find its exclusively text based. I was already used to what the Playstation does when an application crashes. They auto-attach a short clip of what had occurred leading up to the crash with a large amount of space to describe the problem.  The addition of the TroubleShooting feature is welcomed but also left wanting. I believe adding an option to add a clip to the Text along with more space than what  is given at the moment. I say more space cause describing in detail without a video was difficult as I quickly ran out of space to type.

32
Gameplay Feedback / Patch-notes Thoughts
 on: December 15, 2018, 11:17:23 PM 

If I’m going to be honest this update gave some fresh air to the game for me, It gave me some goals and brought a bit of a new feel to the game. So I’d like to note the things that stuck out to me that I liked allot and then things I’d like to see implemented in the game.
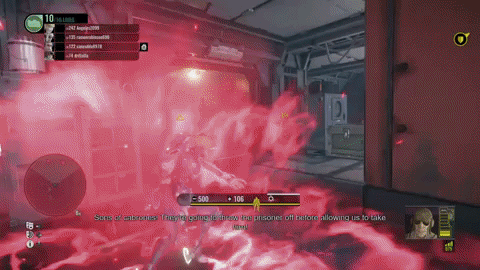
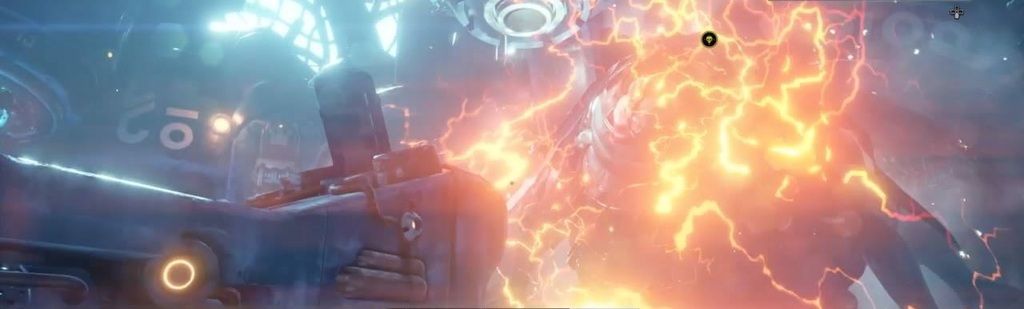
                                                                                 THE PLUSES

Right off the bat upon starting a mission, what amazed me (even though it was a small addition) was the special effect that occurred when you collect Aleph from Elites. I’m pretty sure I said something along the lines of “Oh, what!? that was awesome!” and I think that every time I see it (The shock factor is dumming down for me but I still appreciate it. Adding a variation of that to all the Elites could be a good idea as well.


At this point I kind of felt like a kid in a candy store in the sense that I wanted to try or see all the new changes that was mentioned in the Patch-Notes (honestly, I glossed over allot of information to rush to the bits I was really interested.) That’s when I noticed the new addition of the alternate firing modes for certain rare weapons, of which I loved all of them. Lycus’s in specific was fun to go crazy with.


Now this I can’t confirm if it came from this patch or a previous one but I’ll mention it here anyway. The fix for Valeria’s gun The Whip was another unexpected surprise. I always remembered that gun’s beam firing so erratically, to the point of it not making sense. Now It feels like it got the fix it needed that god. It now has a certain amount of precision when firing for the first few seconds before it spreads, as it should.


This next one was a physics change which was nice and very subtle. When carrying objects like a bomb and you jumped, you used to leap freely as though you hadn’t had a bomb in your hands in the first place. Now you have a very weighted jump that sends you right back down, similar to the physics change that was added to Loaths beast form when ever it jumped. Nice.


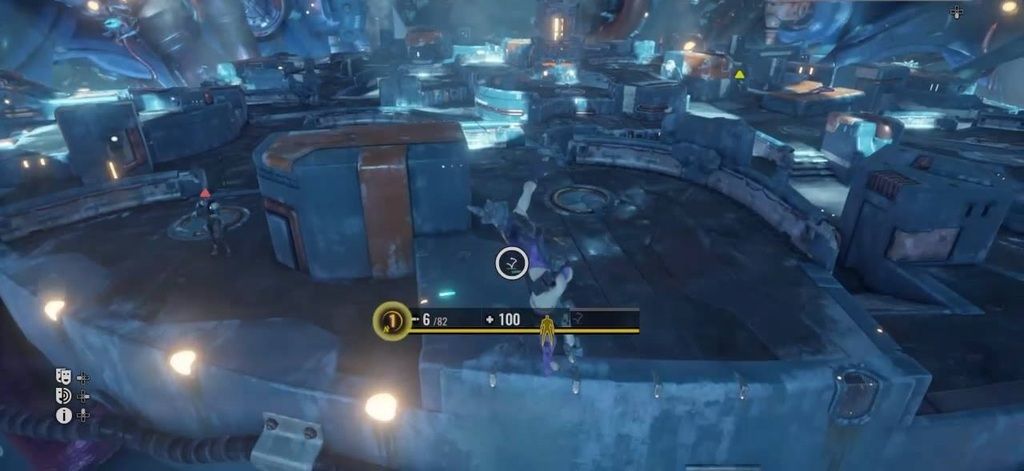
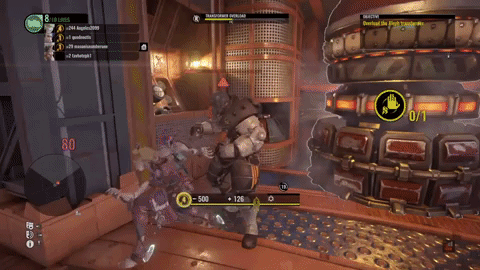
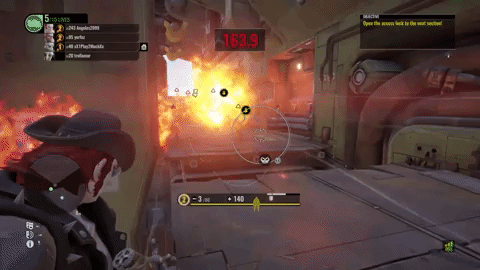
The map Reworks brought a nice spin and difficulty to those that were changed. personally, as far as Hanging by a thread was concerned I wished it could’ve had a little of both the new and the old. Once you reach the end of the 2nd half you could call the elevator and then the gun ship arrived with some Wardog grunts. I cant say how it feels like for new players but for me, a veteran player, its a cake walk.


Here’s a funny, unexpected and yet very important change, The Super Cortez Bros. These guys don’t give you an advantage when a player leaves but they don’t give you a disadvantage either which is great. They don’t use up Aleph, they draw Aggro and give a little bit of cover fire. Cant ask for much more with these bad asses.


I’m all for the new player experience, I’m past that point now but I want it all the same. That being said a Small but helpful amount of information like those found on the Hideout (Roster) section is very nice indeed. It gives a very general idea of what each faction offers that the others don’t. I noticed it on accident when I was moving the cursor about the page. Perhaps highlighting them a little would draw your attention to it a bit more on purpose.


When looking over the things I mentioned above, a friend of mine who was playing at the exact same time mention that theirs a trailer for Konstantin. That confused and intrigued me, so when I found it in the Character Viewer I was excited to see it along with the Tutorial video specifically for him and the link of his that lead to the Universe section. I knew my boy Konstantine wasn't getting the spotlight alone and I was right, allot of the other characters have it too while others do not. I get it, things take time. This was a big thumbs up.


When the Spacelords Roadmap came out one of the things I personally was looking forward to was The Guilds (along with the store) and that remains true. That being said I want to lay out my thoughts on it.

                                                                            GUILDS

Player Status - I’d like to see the status of the players in our Guild like, are they in a mission, the main menu, or are they currently being attacked by an Antagonist. Also to see how long has it been since they’ve been active.

Guild Notifications - On the Communications Panel you could see what the members have been up to. If they Leveled up, Upgraded a weapon, or succeeded in a mission with an Antagonist you’d see a notification.

Guild Exclusive Bounties - The Idea here is when an Antagonist attacks and causes a Guild member to lose the mission, a Bounty can be placed on them if the player who lost chooses so.
*The option to set a bounty has to be unlocked by reaching a certain level.
*The reward on the Bounty is dependant on the offenders level.
*Only 3 attempts can be made on the offender before the bounty is dropped.
*Accepting a Bounty will cost you gold in order to send a clone to attack them during there mission.
*When the Offender starts the mission they will get a notification stating that they are being hunted.
*Your clone will be Randomly selected from from the raiders you have available.

Frankly I haven’t thought of how to make a clone stand a chance against four Raiders who all can be revived. Perhaps Like Kuzmann or Valeria they can have increase stats (Armor, Resistance, Brute force & Grapple immunity) at the cost of not being revived at all.


Guild Emblem - Adding an option to put the Guild Emblem onto other things like weapons, on the Raider themselves or perhaps on Cortez’s Beluga.

- The one thing that bothered me was that you can’t mirror flip some of the images, well that and there wasn’t as much space to continue customizing.

What do you guy's think of my ideas, Meh??

33
Spacelords Universe / Doldren brings the Christmas spirit.
 on: December 14, 2018, 10:16:11 PM 
I was reminded in an Antag match I started that nothing in all of Spacelords can bring a squad of random players together like knowing Doldren is out there checking if you've been naughty or nice. Now he's no Saint Nic but perhaps his right hand Elf. It makes me happy seeing Raiders keeping no closer then arms reach of each other, now that's a how you bring the Christmas spirit.

34
Suggestions / Antagonist CPU stand-in
 on: December 12, 2018, 11:33:49 PM 
Hey Mercury team, I love the addition of the Super Cortez Bros, it adds a sigh of relief knowing that the balance hasn't been tipped too far cause of a loss of a player.
An a similar note, I'm all for getting a freebie victory when an antagonist disconnects but I want to potentially earn an even greater score and rewards than whats given when they quite. So I was thinking (as i'm sure you did too) What if Uras-Beherit creates a CPU clone of the Raider that was selected or a random one from the available pool of characters the Antagonist had at the time. It would be similar to how you fight the Antagonist (CPU) in The Enemy Within boss battle.

What do you guys think?

35
Spacelords Assemble / Space-Guilds : Uras-Acolytes
 on: December 12, 2018, 07:44:52 PM 
Hey guys, I've created a Guild centered around the entity Uras-Beherit and the Antagonist. If you want to join and represent the big beast let me know and ill invite you, or if you already have one that is similar let me know all the same and perhaps we can meld the two. Either way i'll be looking forward to see you guys on the Broken planet.

36
Spacelords Universe / Why attack Friendly Antags???
 on: October 16, 2018, 01:12:22 AM 
This question goes out to those usually with levels of 100 and under (Sometimes over). Why, after a good portion of the match goes by and  you see the Antag not killing and trying to help do you go all out as if your on the verge of death. if you see that the Antag is:
Not killing you or anyone
Helping you with the bomb
Jumping in place
being Idle
Not spawning for a majority of the match
Sometimes ill even go out of my way to message them and get no response.
etc
and still, you still attack??? I mean what?


Do you not want an easier mission or the potential blueprint??
The only reason why I do friendly antagonist mode is cause the Raiders I was Mentoring were forced to play under my MMR which was killing the team. And when I try to lower it I get that shit.

37
Gameplay Feedback / Positive Feedback - Upside Down
 on: October 15, 2018, 11:51:03 PM 
I just played this mission with an Antag (He wasnt very good) and I was able to notice the time it took for Kuzmann to be stunned and the slight ease when taking out the robot while its looking for Kuzmann. This mission didn't take long, like 10-15 min.
Over all, the changes that were made for this mission in particular gave it the right amount of difficulty without overwhelming the team.

38
Bug report & Technical Support / Glitch - In Shock
 on: October 15, 2018, 08:37:21 PM 
I was playing as Valeria and the very second where I killed the beholder it also killed me at the exact same time, so when starting the next half I found myself stuck with a pause menu, I couldn't move, see my cursor or anything. I played this on the PS4.

39
Bug report & Technical Support / Short Fused - Ginebra
 on: October 15, 2018, 04:23:50 AM 
Description: During the mission I had built up over 125 health using the Dual Battery card and after returning from a her Cougar form while using the Allotropic Booster card I found that the amount of health I built up with her base health was reset every time I went into her Cougar form. It seems as though either one card cancels out the other or Ginebra's Cougar form cancels out her Fifth Council card. 
Also I took into account if a death could have restarted the card but that wasn't the case.

Character: Ginebra

Mission: Short-Fused

MMR: During mission, 39%

Fifth Council Deck: Dual Battery (Rare)
"Your maximum health increases by 2 health points every ten seconds you live up to a maximum of 35. If you have an Aleph super boost, it increases to 5 health points every 10 seconds to a maximum of 50.

Ginebra Deck: Allotropic Booster (Rare)
Increases the maximum health by 40 points wile you are in Cougar form. If you have an Aleph super boost, it increases to 70 health points.

Weapon Used: J. Wheel M-11

Weapon Forge Level: 20

Skin: "Sabertooth" Heavy Armor

40
Suggestions / In-game H.U.D. scaling
 on: October 11, 2018, 05:11:02 AM 
Personally I'm not too crazy about having my screen filled with a bunch of information (Unless I really need it). So I think a great and simple idea would be to allow players to Adjust the location of the H.U.D. and on top of that give an option to Toggle it on and off in the Settings menu.


I don't mind if the H.U.D. gets changed in the future by adding less or more Information, or even a overall new look, just so long as MS gives us some options....options are nice.

41
Bug report & Technical Support / Loath Glitch
 on: October 10, 2018, 09:46:59 PM 
Descprition - After returning back into Loath's regular form you fury meter is instantly filled. When this happens you will not be able to transform or interact with mechanisms. Becoming wounded does not fix the problem Only if you either die or the mission moves onto another segment will restore the issue. Triggering the transformation restarts the glitch.
Mission - A Breath of Hope
MMR - At the time of the mission it was 40%
Umbra Wardogs Deck - Improved Healing (Rare)
Loath Deck - Furious (Rare)
Gun Used - Bubble Gum
Gun Forge level - 10
Skin - Grendel

42
Spacelords’ Advice / Mind Over Matter - Guide
 on: October 09, 2018, 01:53:03 PM 
Before starting I want to mention some basic points you need to keep in mind for this mission:

The Stage - This Map is specifically designed so you can benefit in taking cover from nearly any angle. This stage, if used correctly is going to be the thing that keeps you alive in the end.


Organized Grunts - You wont be the only ones using the stage effectively. If you allow them, the grunts *Will* flank you and have you surrounded before you've taken a bar of health from The Boss.

One track Elites - As any elite, they will make beeline straight for you the second they track your Aleph signature. The thing that might kill you down the line is when you realized that they’ve been silent as they approached your blind spot.

Enemy Preferences - When hiding behind cover and either an Elite or Grunt begins making there way to you know that each one has a fixed attacking method. If its an Elite, know that they’ll Grapple first and ask questions later and Grunts will Strike you first with there Gun or Foot. That in mind when you do see an A.I approaching, take cover so they don’t shoot you. Always strike from cover for Grunts and Grapple for Elites. This is because you’ll always get the upper hand on them when it comes to attacking first if your under cover but if you grapple a Grunt from cover they often are fast enough to strike you back regardless, so strike first as its faster than grappling. You can choose to strike an Elite as well but that opens up the small chance that they dodge.


Mission Start: When you start, there will be both Elites and Grunts waiting nearby as well as The Council. During this phase of the mission The Council will not be hostile and will attempts to assess if you’re worthy of joining them by sending a continuous stream of Elites & Grunts. When destroying one of the 3 faces, more units will spawn, and attacks from an overhead machine will shoot streams of energy periodically. When all 3 faces are destroyed The council will combust, leading to the next part of the mission.


The 10 Council Members: After recovering from the last attack The Council will reveal themselves and come to the conclusion that you cannot be assimilated and will aim to kill you all the while gathering data through a series of tests. As you pass each test, more overhead mechanism will Activate periodically. During the first test The Council will activate either the Energy Streams, the bouncing Electrical Spheres or the Homing laser but never all 3.

Test #1 - Eliminate Soldiers.
Your first task is to kill a specified number of Fifth Council Soldiers. You will not be able to attack The Council directly during a Test. At this point will have 2 options:

1. Fulfill the objective - As a Team or in solo you will have to kill a number of a specific type of enemy. This method will end any test with the council saying “Observation Concluded.” Both methods will damage the Council when completed.

Alternative

2. Charge terminal with Aleph - At the the center of the stage is a large terminal that can be interacted with whenever a Test begins. Charging it activates all 3 mechanisms at the edges of the stage. Make your way towards one of the terminals while watching for both The Council to cross paths with you and from attacking enemy units from behind. If triggered when The Council gets directly in front of it, it will stun and deactivate its invulnerability. Triggering the switch too early will have The Council make a sharp turn in the opposite direction. Ending the Test through these means will result in The Council saying “Interesting… Lateral… Thinking.”


Test #2 - Eliminate Elite Soldiers.
When this test begins the circular platforms throughout the stage will open, sending out additional Elite soldiers. They will begin spawning continuously until the required amount is met. In addition, both the Electrical Spheres and Energy Streams will both be activated simultaneously at random points during the Test.

Note: Don’t let the bouncing spheres and the light show throw you off. Move around the edges of the stage and keep to cover. The center is the most dangerous area to be in.

Test #3 - Eliminate Minelayers.
Similar to the previous test you will have to focus your attention now to the ground as the Minelayers are small and erratic. These Minelayers do not travel across the map and do not chase the Raiders. They travel a set distance from where they spawned and where there are no mines. When this test begins it wont be long before you’ll see the stage littered with mines. At this point The Council will also begin attacking using a Homing laser strike similar to the type The Beholders use simultaneous with the other traps.

First you’ll want to focus on Grunts so they don’t take pot shots at you, then destroy nearby mines to draw the attention of Minelayers. If you lose track of where they are, you'll find them nearby any remaining mines. Try not to concern yourself with the Homing Lasers too much as it often loses track of you while your standing still (especially if your under cover).

Note: Honestly the best thing to do here is save up Aleph from the previous Elite Test so you can skip this Test using the Center terminal then the Council trap… just be careful to not rush to a certain location and get hit by a bomb as you might carelessly think, “I can take one hit” only to find theirs an Elite and Grunt waiting for you soon after.

Final Test - Eliminate Drones (Squids)
Unlike the Drones shown in other missions the drones used here do not have rotating Shields, lay Minelayers or move about the Map. These drone are stationary and placed at the edges of the stage. Aside from the goal of being eliminated there only other purpose is to launch stationary electric fields that does a steady stream of minor damage if you don’t spend time in them, which can be avoided easily.

What makes this test difficult; every trap and enemy shown throughout each of the previous test will activate and spawn from this point on. This can range from extremely difficult to mildly challenging depending on the groups MMR as the spawn and activation rate can be pretty slow to frequent. On either case what you should do is hug the walls or any other form of cover as you move to the outskirts of the stage. Don’t let grunts run around you, kill them on sight and lure elites away from grunts or traps. Remember The Council is throwing everything they have at you now, there desperate. Only when your sure your safe should you focus on The Council, there not going anywhere but around the bend.

I mentioned the outskirts being the safest allot because the bouncing sphere aren’t  as dangerous, the Streams of Energy don’t rotate past the center, By the time the Homing Lasers start tracking you they’ve already moved to far to finish the lock on, Grunts cannot flank you, Elites can’t sneak up on you (unless they show up out of no where through the spawn points on the edge). The only thing you have to worry about then is the Minelayers and they don’t respawn fast enough, so just kill 3 at a time and you should have a pretty secure location.


Side Note: sorry I didn’t include anything regarding Antagonist in this one. I think I crammed enough into it and as of now, I can’t think of a solid Anti-Antag solution other than Grouping up.

43
Spacelords Assemble / Tutorial Team-Up on the PS4
 on: October 02, 2018, 04:42:27 AM 
Hey guys if any one is interested tomorrow on October 2nd and also on October 3rd i'll be broadcasting on the PS4 at 3pm Eastern Pacific time.

I'll be covering Hanging by a Thread, A fistful of Sand and Bosses. If anyone wants to request other missions, just ask. Also for those who want to Antag us please do so, it'll help allot.  Feel free to ask as many questions as you can and i'll do my best, I'll see you then.

Note: Add me on the PS4, I have the same SN

44
With the exception of Hanging by a thread could you guys let me know which two missions of each story chapter you disliked the most....and please don't say all Council missions lol.

Alien Myths:
  • In shock
  • A Breath of Hope
  • A Fistful of Sand
  • The Enemy Within
Wardog Fury:
  • Short Fuse
  • No Reservations
  • A Weapon from the Past
  • The Beasts Lair
The Hades Betrayal:
  • A Low Blow
  • In Medias Res
  • Double Agent
  • The Destroyer of Worlds
Council Apocalypse:
  • The Mouse and the Snake
  • White Noise
  • Upside Down
  • Mind over Matter
I'll tally the votes at the end of the week, and Thanks.

45
General Overview
For those who are new to this Mission, the task here is simple, acquire Aleph and use it to find which prisoner is Uru Gal the Protector. Once you do find him you will escort him and have to maintain his health until the end.


Before I continue I’ll briefly note all Raiders capable of Healing or Defending the Protector outside of usual means.

Locals
Doldren - Ability + Card: Breath
Iune - Ability: Healing. Cards: Lazarus, Eurythmy (Damage Reduction), Healing & Balm.

Umbra Wardogs
Alicia: Weapon - The Painkiller
Rak Mayura - Ability: Pishachas. Card: Agnation

Hades Division
Lycus Dion - Ability: Kinetic Shield (Body Block)
Mikah - Weapon - Barrier (When the Protector loses his Shield replace his with yours).
Ayana Kwena - Weapon: Versatile

Fifth Council
Konstantin: Ability + Card: Healing Nanobots
Dr. Kuzmann: Weapon - L. Horizons
Valeria: Ability + Card: Zero Point Energy


Finding the Protector: When the Mission starts each player will have to check a total of 10 Prisoners. The 11th prisoner will be Uru Gal, once 10 Aleph is used on the prisoners I recommend that you *Do-Not* check any more Prisoners. Ideally you should instead continue to collect Aleph until each team member has 5x Aleph. At this point you will want to find the closest Prisoner at the center of the Stage (Elevator). This will reduce the amount of time enemies have to attack him and allow each player to use there Aleph on him on the next stage.


Healing & Defending the Protector: Once the Protector is on the second stage you have less than 30 seconds to wipe out the awaiting Ambush of Hades soldiers before they all have a clear shot at him. If you have chosen at least one of the 10 Raiders mentioned earlier you’ll be able to Heal or Defend Uru Gal effectively so the rest of the team can focus on clearing a path.


Antagonist
In this mission the Antagonist has a much simpler task than wiping out all the raiders before Cortez can save them, here all they have to do is wipe out The Protector. An Antagonist would have a harder time doing this if they choose a Raider who is more Melee oriented or other wise need to get close in order to be effective. If this is the case they will aim for You and the Raiders as they carefully pick you off until there isn’t anyone left to defend the Protector, at which point they will switch gears and attack Uru Gal ending the mission.

A more likely outcome would be that the Antagonist would choose a Ranged Raider here. They will most likely skip the first half of the mission as the second stage gives a better vantage point to attack.
If they do show up in the first half it will be towards the end of it when the Protector is found.

Solutions:
You can never know which Ranged Antagonist will show up but it will always prove beneficial to have at least 1 Raider in the far end keeping watch, typically one who can hold there own against the Hades soldiers and one ranged Antagonist. A good choice could be Dr.Kuzmann, Rak Mayura & Ayana Kwena to name a few. 
Alternatively you can have two Raiders keeping watch of the Antag  and two crowd controllers keeping guard of the Protector

One last thing, If I had to pick the best 4 Raiders for this mission it would be:
*Valeria with her weapon The Whip and her card Zero Point Energy.
*Doldren with his default weapon KLT-13 and his card Breath
*Rak Mayura with his Weapon DPY-2M and his Card Agnation
*Ayana Kwena with her weapon Versatile


I Hope this helps a little. If I missed anything let me know so I can think of something else.

Pages: 1 2 [3] 4